How To Sketch A Hair: Your Guide To Drawing Lifelike Strands Today
Please note: The provided "My text" describes software called Sketch, its features, history, pricing, and comparisons to other design tools, as well as comedy sketches from SNL. This information is not relevant to the topic of "how to sketch a hair." Therefore, this article will focus on general drawing techniques for hair, as requested, without referencing the unrelated text.
Learning to sketch hair can feel like a real challenge for many artists, whether you are just starting out or have been drawing for a while. It is that, a common hurdle, because hair has so much movement and different textures. Getting it to look natural, like it really belongs on the head, takes some careful observation and a few good techniques.
You might find yourself drawing hair that looks more like a helmet or a block, rather than soft, flowing strands. This happens to nearly everyone at first. The trick, you see, is not to draw every single hair. Instead, it is about seeing hair as big shapes, understanding its flow, and then adding just enough detail to make it believable. We will go through some steps to help you get there.
- Unveiling The Love Life Of Zach Justice A Journey Into Romantic Revelations
- Louise Meldrum Uncovering The Secrets Of Success And Impact
- Jenna Lyons Height Surprising Truths And Fashion Revelations
- How Many Sides Does A Pentagon Have
- Unlocking The Mysteries Of Dear Lord When I Get To Heaven
So, today, we are going to look at how to approach drawing hair in a way that feels less overwhelming and more rewarding. We will talk about simple methods that can make a big difference in your sketches, helping you create hair that has depth and character. You will see that, with a little practice, your hair sketches can really come to life.
Table of Contents
- Understanding Hair as a Mass
- Essential Tools for Hair Sketching
- Beginning Your Hair Sketch
- Drawing Hair in Sections
- Adding Depth and Texture
- Different Hair Types and Approaches
- Common Mistakes to Avoid
- Practice and Observation Tips
- Frequently Asked Questions About Sketching Hair
- Wrapping Things Up
Understanding Hair as a Mass
When you first look at hair, it is easy to see just a lot of individual strands. But that, is not the best way to start drawing it. Think of hair more like a big, soft shape that sits on the head. It has volume and form, much like a hat or a cloud. This way of thinking helps you capture the overall look before you get lost in tiny details. You are essentially drawing the general outline of the hair, how it frames the face, and where it rests on the shoulders or neck. This initial step is really important for making the hair look natural and connected to the person.
Consider how light hits this big shape. Some parts will be brighter, and some will be darker, just like any other object you draw. These light and dark areas help show the hair's volume. It is almost like sculpting with your pencil, creating the roundness or flatness of the hair. This approach, you know, keeps you from drawing hair that looks flat against the head. It helps give it that lifelike quality right from the start. So, focus on the big picture first, always.
- Unveiling The Rising Star Discover The Story Of Mason Martin Karns Citys Quarterback Sensation
- Unveiling Sabrina Carpenters Measurements Insights And Discoveries
- Peso Pluma New Haircut
- Unveiling Todd Haleys Net Worth Uncovering Secrets And Strategies
- Robert Prevost Donald Trump
Essential Tools for Hair Sketching
You do not need a lot of fancy equipment to sketch hair. In fact, a few simple items are all you really need to get started. A good set of pencils with different hardness levels is quite helpful. For instance, a 2H pencil is good for light, initial lines, while a 2B or 4B pencil can give you darker tones and more depth. You might also want a 6B or 8B for the really dark shadows, which, in a way, make the hair pop.
Paper matters too, but any drawing paper will do to begin with. A smooth surface can be nice for fine lines, but a little tooth on the paper can help hold graphite for darker areas. An eraser, naturally, is a must-have. A kneaded eraser is especially useful because you can shape it to lift out highlights or clean up small areas without smudging too much. Some artists also like a blending stump or a cotton swab for smoothing out tones, but your finger works too, just be careful not to spread oil from your skin. These tools, pretty much, give you everything you need to experiment.
Beginning Your Hair Sketch
Starting your hair sketch involves setting up the foundation correctly. This means first getting the head shape down, and then figuring out where the hair begins on that head. This helps anchor the hair to the figure you are drawing, making it look like it truly belongs there. Without a solid base, the hair can seem to float or look disconnected. It is a fundamental step, really, for any portrait or figure drawing.
Shaping the Head
Before you even think about hair, you need to draw the basic form of the head. This could be a simple oval or a more defined skull shape, depending on how detailed your figure is. Make sure the head has a sense of volume. Think of it as a sphere, more or less, with the face planes added. This gives you a clear surface for the hair to sit on. If the head is flat, the hair will also look flat. Use light lines for this initial shape, as you might need to adjust it later.
This head shape also helps you figure out the overall size and proportion of the hair. Hair adds volume to the head, so you need to account for that. It typically extends beyond the skull. Getting the head shape right first, you know, makes it easier to draw hair that looks proportionate and natural. It sets the stage for everything else.
Defining the Hairline
Once you have the head shape, lightly mark where the hair begins on the forehead, temples, and around the ears. This is the hairline. It is often unique to each person, so observe it carefully if you are drawing from a reference. The hairline is not a straight line; it usually has a bit of an uneven edge, sometimes with little wisps. This area is very important because it connects the hair to the face. You see, if the hairline is too harsh or too perfect, the hair can look unnatural.
Consider how the hair grows out from the scalp. It does not just appear; it has a direction. This initial direction at the hairline helps guide the flow of the rest of the hair. So, take your time with this step, just a little. It truly makes a big difference in the final look of your sketch. This is where the hair begins its journey on the page.
Drawing Hair in Sections
Instead of trying to draw every single strand, which can be very tedious and often leads to a stiff look, think about drawing hair in larger sections or clumps. Hair naturally falls into these groups, especially longer hair. This approach helps you manage the complexity and maintain a sense of overall flow and volume. It is, in a way, like drawing a landscape where you first define the big hills before adding individual trees.
Blocking Out the Main Shapes
After defining the hairline, start to lightly sketch the main shapes or masses of the hair. Look for how the hair falls into larger groups. Does it part in the middle? Does it sweep to one side? Are there big curls or waves? Draw these large forms first, using light, broad strokes. These are your hair "chunks." This step is about capturing the overall silhouette and volume of the hairstyle. It is pretty much the most important part for getting the hair to look like hair, not just lines.
Think about the direction these main shapes are taking. Hair has a natural flow, often influenced by gravity or styling. These big shapes will guide where your individual strands will eventually go. So, do not worry about details here, just get the big, general forms down. This is the skeleton of your hair sketch, you know, the underlying structure.
Following the Flow
Once you have the main shapes, start to add lines that follow the direction of the hair within those shapes. These lines are not individual hairs yet; they are more like pathways or currents. Imagine the hair as a river flowing down. Where does it bend? Where does it gather? Use your pencil to suggest this movement. These lines help create a sense of realism and dynamism in your sketch. It is about showing how the hair moves, rather than just where it sits.
Vary the pressure on your pencil as you draw these flow lines. Some lines can be darker or lighter, thicker or thinner, to suggest depth and movement. This variation adds interest and makes the hair feel more organic. This step, frankly, is where the hair starts to gain its lifelike quality. It really helps to give it that natural look.
Adding Depth and Texture
Once you have the main shapes and flow established, it is time to add depth and texture. This is where the hair truly starts to look three-dimensional and realistic. It involves using light and shadow to create volume and adding subtle lines to suggest individual strands without drawing every single one. This is where your sketch really starts to shine, you see.
Light and Shadow Play
Hair is not a flat, uniform color. It has highlights where light hits it directly and shadows where it recedes or is covered. Observe your reference (or imagine) where the light source is coming from. The parts of the hair facing the light will be lighter, and the parts in shadow will be darker. Use your darker pencils (like 2B, 4B, or even 6B) to build up these shadow areas. This gives the hair its roundness and volume. It is pretty much like sculpting with your pencil, creating the illusion of form.
Leave some areas of the paper untouched or use your kneaded eraser to lift out bright highlights. These highlights are crucial for making the hair look shiny and alive. Do not make them perfectly straight lines; they should follow the curve of the hair. This contrast between light and shadow is, in some respects, what makes the hair look three-dimensional. It is a key element for making your sketch pop.
Creating Texture with Lines
After establishing light and shadow, you can add a few individual lines to suggest texture. Remember, you are not drawing every hair. Instead, draw groups of lines that follow the flow of the hair, especially in the mid-tones and darker areas. These lines should vary in length and thickness. Some can be short, some long, some faint, some a bit darker. This variation makes the hair look more natural and less like a wig. It is about creating the illusion of many hairs, not drawing each one. This is where the hair gets its unique feel, you know.
Use very light lines for the finer wisps around the hairline or where hair might separate. For darker areas, you can layer lines to create a sense of density. The key is to keep these lines flowing in the direction of the hair's growth. Avoid drawing parallel lines that are too uniform. This variety in lines, honestly, makes the hair look much more organic and believable. It really brings the texture to life.
Learn more about drawing fundamentals on our site, and for more advanced techniques, link to this page here.
Different Hair Types and Approaches
Hair comes in many forms, and each type has its own unique characteristics that you will want to consider when sketching. While the basic principles of mass, flow, and light apply to all hair, how you apply them will change based on whether the hair is straight, wavy, or curly. It is, you know, about adapting your technique to the specific style.
Straight Hair
Straight hair often falls in very clear, defined clumps. When sketching straight hair, focus on long, smooth lines that follow the length of the hair. These lines should generally be quite parallel within each clump, but the clumps themselves will separate and overlap. Pay attention to how the light reflects off straight hair; it often creates distinct, long highlights. These highlights will be relatively straight too, following the hair's direction. You might find that, in some respects, drawing straight hair is about capturing its sleekness and the way it hangs.
The shadows in straight hair will also be quite defined, often appearing as dark strips between the lighter clumps. Use your darker pencils to emphasize these shadow areas. Remember to vary the pressure on your pencil to show the subtle shifts in tone along the length of the hair. This helps prevent the hair from looking too flat or like a single block. It is, pretty much, about showing its smooth surface.
Wavy Hair
Wavy hair has a gentle, undulating movement. When sketching wavy hair, your lines should follow these soft curves. Think of drawing a series of "S" shapes or gentle ripples. The clumps of wavy hair will be less defined than straight hair, and they will twist and turn. The highlights on wavy hair will also follow these curves, appearing as broken, curved patches of light rather than long, continuous streaks. This is where the hair starts to get a bit more dynamic, you see.
The shadows in wavy hair will be found in the troughs of the waves and where one wave overlaps another. Use a softer touch with your pencil to create these shadows, allowing them to blend smoothly. The key is to capture the natural bounce and movement of the waves. Do not make the waves too uniform; vary their size and rhythm to make them look more natural. It is, arguably, about capturing that flowing motion.
Curly Hair
Curly hair can seem the most challenging, but it is also very rewarding to sketch. Instead of long lines, think about drawing individual curls or coils as small, rounded shapes. Each curl is a tiny mass in itself. Block out the overall volume of the curly hair first, then start to define these individual curl shapes within that volume. The highlights on curly hair will appear as small, bright spots on the outer edges of the curls, where the light hits them. This is where the hair really shows its texture.
The shadows in curly hair will be deep within the coils and where curls overlap. Use your darkest pencils to create these deep shadows, which will give the curly hair its incredible volume and depth. Do not try to draw every single strand within each curl. Instead, suggest the texture by drawing the overall shape of the curl and adding a few lines to indicate its direction. This is where the hair truly shows its unique character, you know. It is about capturing that springy quality.
Common Mistakes to Avoid
When you are learning to sketch hair, some common pitfalls can make your drawings look less natural. Knowing what these are can help you steer clear of them and improve your work much faster. It is, in a way, about learning from what typically goes wrong.
Drawing Every Single Strand: This is probably the most frequent mistake. Trying to draw every hair leads to a stiff, unnatural, and often spaghetti-like appearance. Hair is seen as a mass, not as individual lines. Focus on clumps and overall flow instead. This approach, you see, saves you a lot of time and makes your hair look much better.
Ignoring the Hair's Volume: Sometimes, people draw hair flat against the head, like a painted-on helmet. Hair has volume; it extends out from the skull. Remember to account for this space. Think of the hair as a three-dimensional form, like a balloon sitting on the head. This makes the hair look like it has weight and body, you know.
Making Hair Too Uniform: Hair is rarely perfectly neat or symmetrical. Avoid drawing perfectly parallel lines or identical curls. Vary the thickness, length, and direction of your lines. This makes the hair look more organic and alive. It is, frankly, about embracing the imperfections that make hair look real.
Lack of Light and Shadow: Without proper light and shadow, hair looks flat. Use a range of tones, from dark shadows to bright highlights, to give the hair depth and form. This contrast is what makes the hair look shiny and voluminous. It is, pretty much, the secret to making it pop off the page.
Drawing Hair as a Separate Entity: Hair should look like it is growing from the head. Pay attention to the hairline and how the hair connects to the scalp. If the hair looks like it is just sitting on top of the head, it will not feel believable. It is about integrating the hair with the rest of the figure, really.
Practice and Observation Tips
Like any skill, sketching hair gets better with practice. But it is not just about drawing a lot; it is about drawing smartly and observing carefully. The more you look at real hair, the better you will get at capturing its nuances. This is where the real learning happens, you know.
Observe Real Hair: Look at people's hair around you, in magazines, or online. Notice how light hits it, how it clumps, how it flows, and how different textures behave. Pay attention to the subtle variations in color and tone. This direct observation is, frankly, the best teacher. You will start to see things you never noticed before.
Use References: Do not be afraid to use photos or live models as references. They provide valuable information about hair structure and light. You can pause a video or zoom in on a photo to study details. This helps you understand what you are trying to draw before you even put pencil to paper. It is a very helpful tool, indeed.
Sketch Hair Studies: Instead of always drawing hair on a full figure, do quick sketches focusing just on hair. Try different angles, different lighting, and different hairstyles. These studies help you isolate the challenges of drawing hair and practice specific techniques. This kind of focused practice, you see, builds your skills quickly.
Experiment with Tools: Try different pencils, erasers, and papers. See how they affect your lines and tones. Sometimes, a different tool can open up new possibilities for creating texture or depth. It is, in a way, about finding what works best for your style and the effect you want to achieve.
Be Patient: Learning to draw hair well takes time. Do not get discouraged if your first attempts are not perfect. Each sketch is a learning experience. Keep practicing, keep observing, and you will see steady improvement. It is, pretty much, a journey, not a race.
Frequently Asked Questions About Sketching Hair
Here are some common questions people have when they are trying to sketch hair.
How do I make sketched hair look natural and not like a wig?
To make hair look natural, focus on drawing it in large clumps or sections first, rather than individual strands. Show the overall flow and direction of the hair. Use varying line pressure to create depth, and pay close attention to where light hits the hair and where shadows form. This helps give it volume and movement. It is, you know, about capturing the big picture first.
What are the best pencils for drawing hair texture?
A range of pencils is very helpful for hair texture. Start with a harder pencil, like 2H, for light, initial lines and general shapes. Then, use softer pencils, such as 2B, 4B, or even 6B, for building up shadows and adding darker, more defined strands. The softer pencils give you richer tones and help create that sense of depth. It is, pretty much, about having a variety of options.
Should I draw every single hair strand?
No, you should not draw every single hair strand. This is a common mistake that can make your hair sketch look stiff and unnatural. Instead, focus on drawing the hair in larger masses or clumps. Suggest individual strands by drawing groups of lines that follow the hair's flow, especially in the mid-tones and darker areas. This creates the illusion of many hairs without the need to draw each one. This approach, you see, is much more effective.
Wrapping Things Up
Learning to sketch hair is a skill that truly comes with observation and practice. It is about seeing hair not as a collection of individual lines, but as a dynamic form with volume and movement. By starting with big shapes, understanding flow, and then adding just enough detail with light and shadow, you can create hair that feels alive on your page. Remember that, every stroke you make is a step towards better understanding how hair behaves. Keep your pencil moving, and keep looking at the world around you. You will find that, with time, your hair sketches will gain a new level of realism and beauty.
For more inspiration on artistic techniques, you can explore resources like The Art of Manliness's guide on drawing a face, which often includes hair. This can give you other perspectives on how artists approach different features. Keep drawing, keep learning, and enjoy the process of bringing your sketches to life.
- Unraveling The Mystery Of Luis Miguels Mother Discoveries And Insights
- I Used To Pray For Times Like This
- Unveiling The Rising Star Discover The Story Of Mason Martin Karns Citys Quarterback Sensation
- Unveiling The Disney Dreamlight Valley Community Challenge Discoveries And Delights
- Unveiling The Secrets Of Sports News Hockey Discoveries And Insights Await
Modern Art Sketches at PaintingValley.com | Explore collection of
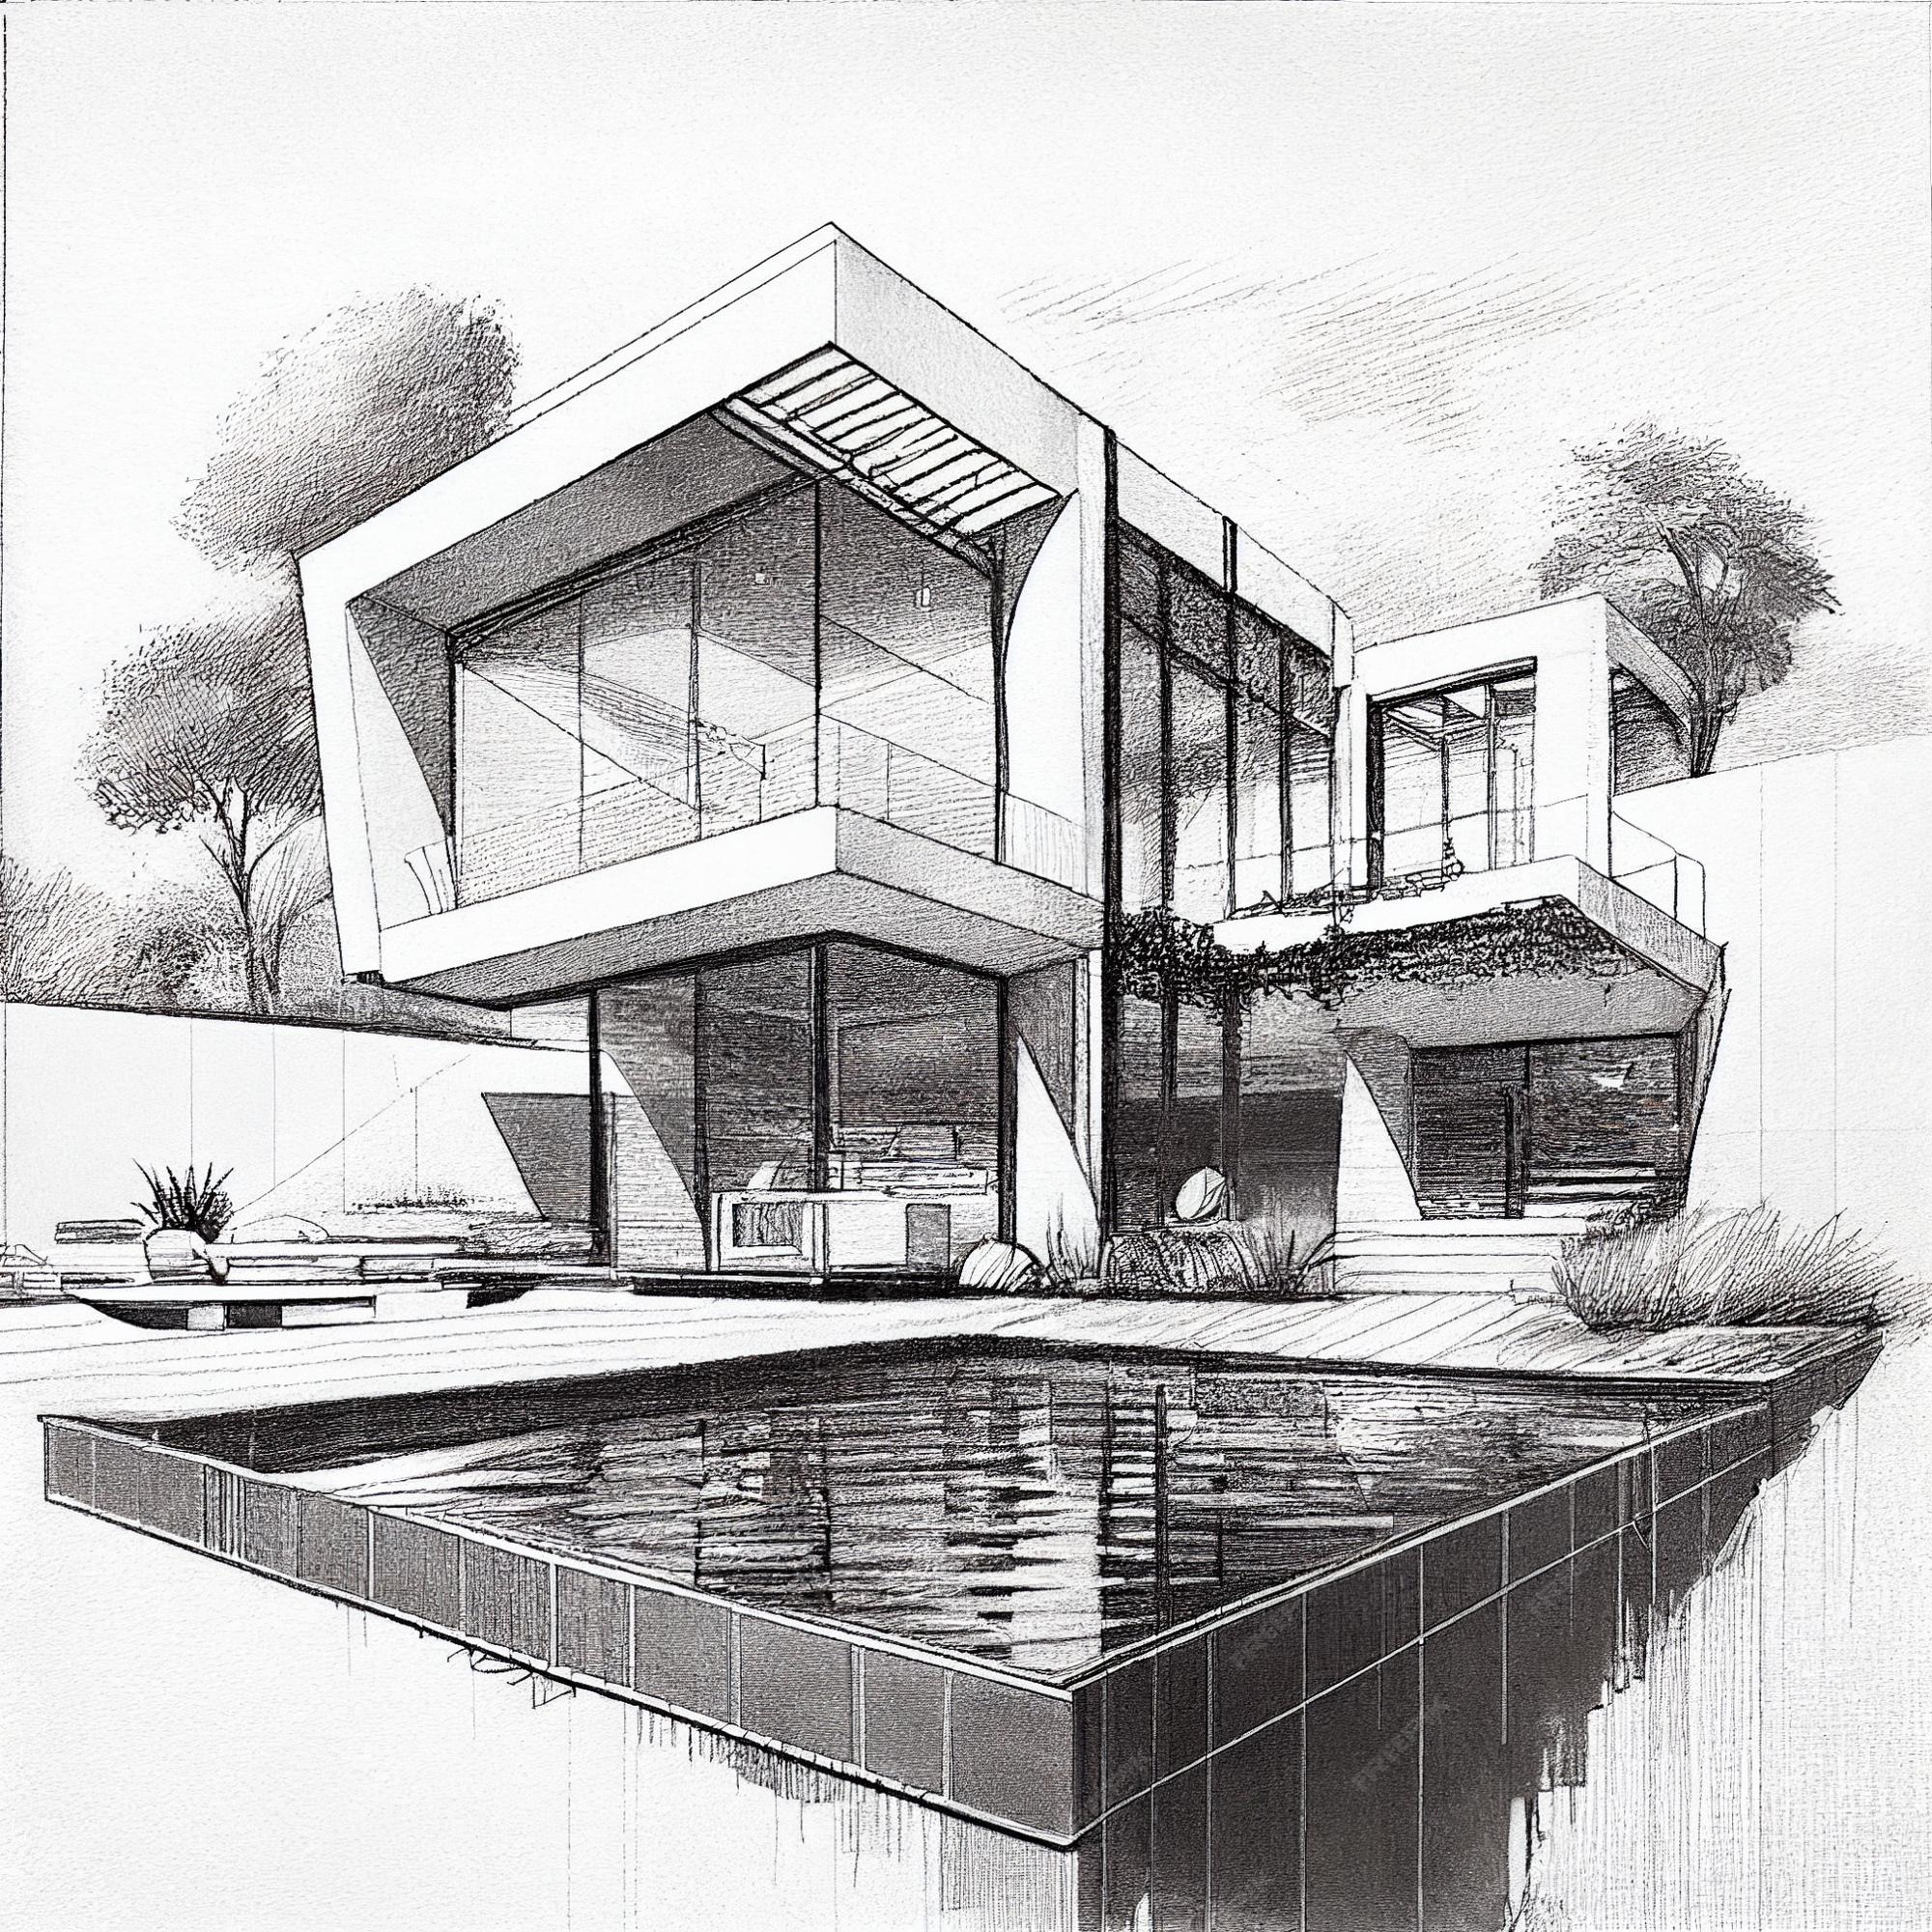
Premium Photo | Luxury house architecture drawing sketch plan blueprint

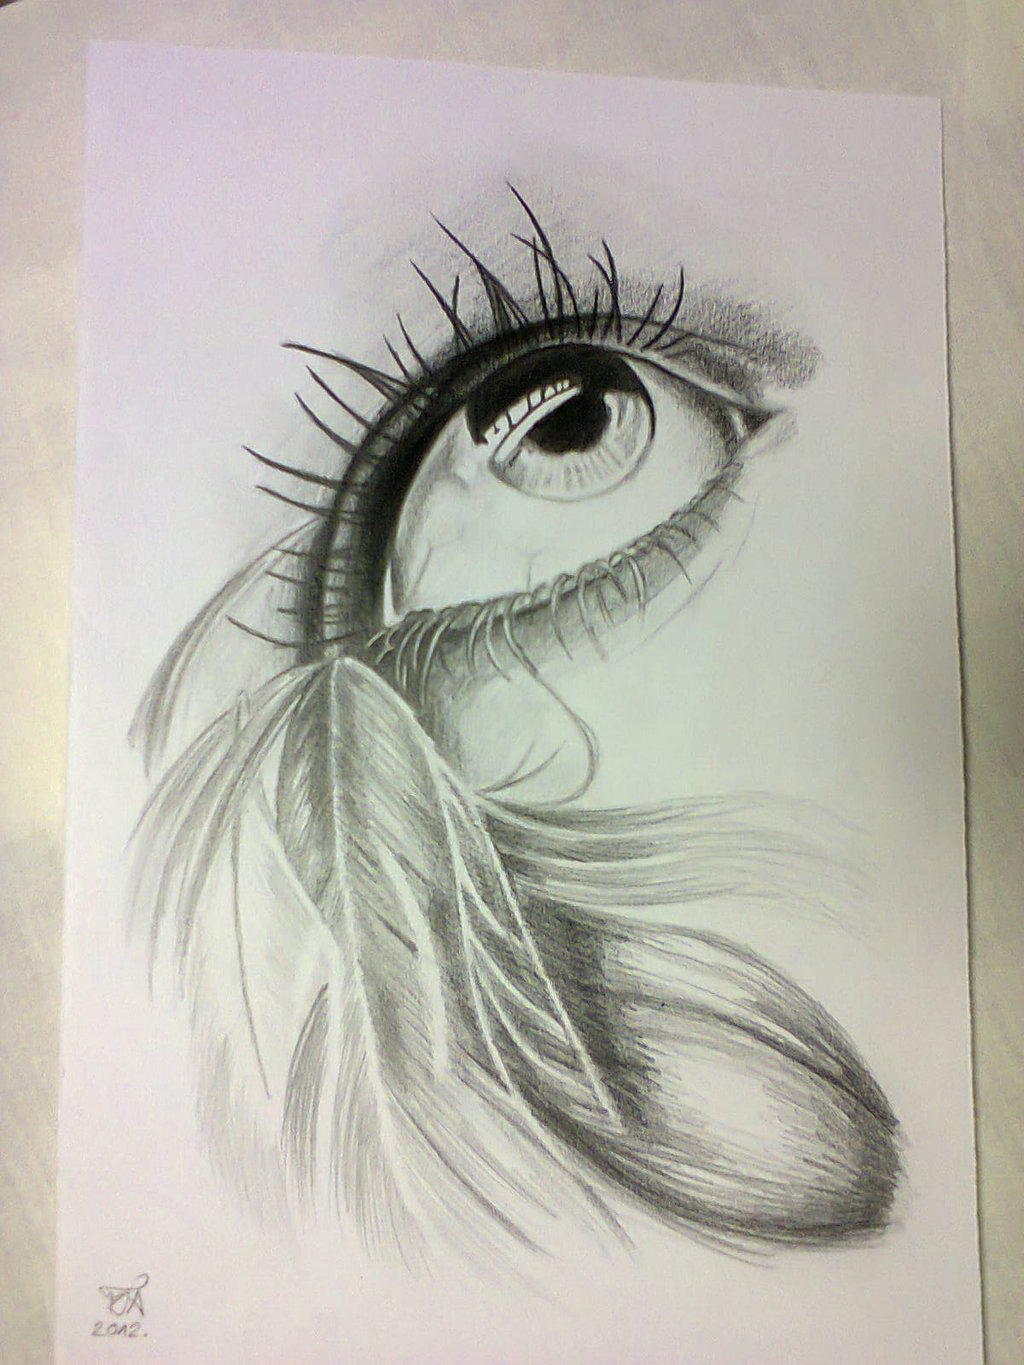
Pencil Sketch Artist Ani Cinski - ARTWOONZ | Art sketches pencil
