Mastering The Bow Tie: Your Simple Guide To Tying A Classic Look
Learning how to tie a bow tie can feel like a big challenge, but honestly, it is not as hard as it seems. Many people think it's just for fancy events, but a bow tie can really add something special to your everyday style, too. We all want to look our best, and a self-tied bow tie shows a bit of extra effort, a touch of personal flair, you know? It's a skill that, once you get it down, stays with you, and it makes a real difference in how polished you appear.
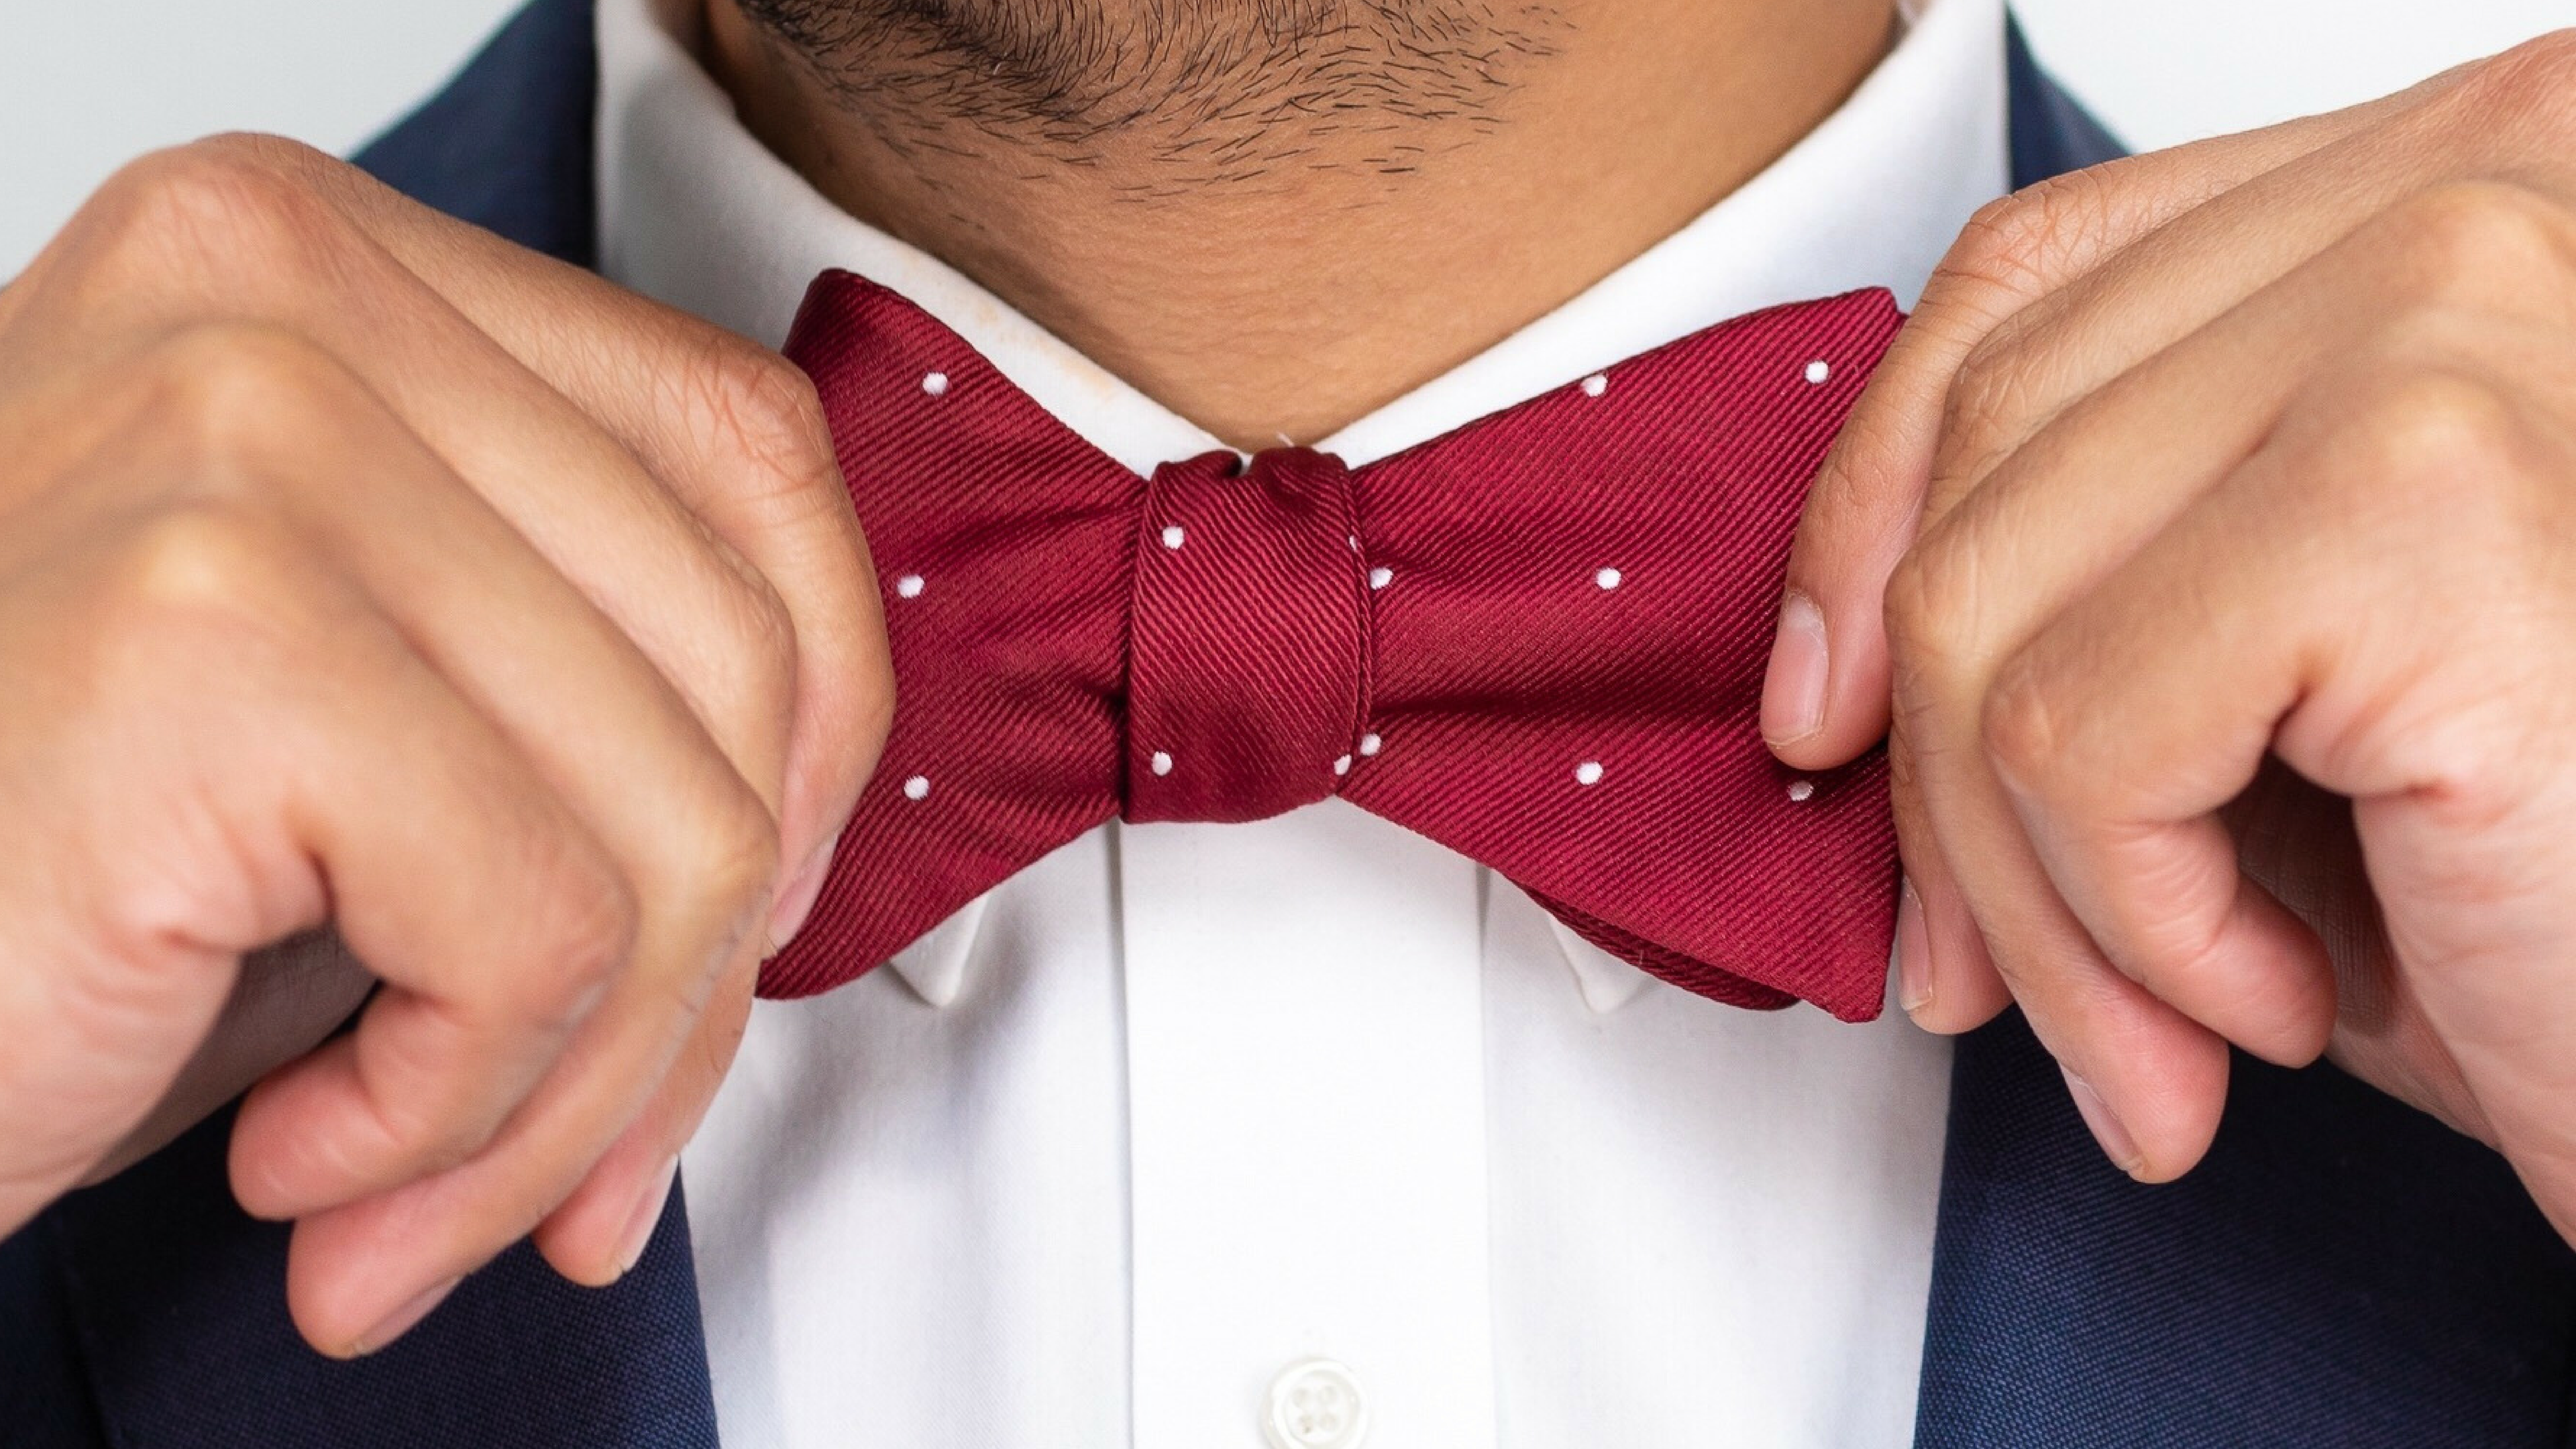
A properly tied bow tie, that, is a unique sort of necktie knot. It comes from a piece of fabric, like a ribbon, that gets wrapped around your shirt collar. The way it comes together makes a neat, balanced shape right at your throat. It’s a very traditional look, and it just never goes out of style, which is rather cool.
So, if you want to wear a bow tie, you need to know how to tie a bow tie. This guide is here to help you get there. We'll walk through each step, making it simple and clear. You will soon master this traditional knot and enjoy the classic look. Feel free to practice a little; it really helps.
- Unraveling The Intriguing Story Of Elaine Scottos Husband
- Unveiling Miranda Lambert Discoveries And Insights Await
- Uncover The Thrilling World Of Kenyan Sports Your Ultimate Source Of Discovery
- Uncover The Unbeatable Polar Vantage V3 Review And Pricing Insights Revealed
- Peso Pluma New Haircut
Table of Contents
- Why Learn to Tie Your Own Bow Tie?
- Getting Ready for Your Bow Tie
- The Seven Easy Steps to a Perfect Bow Tie
- Troubleshooting Common Bow Tie Issues
- Visual Learners, This Is for You
- Frequently Asked Questions About Bow Ties
- Your Bow Tie Journey Begins Now
Why Learn to Tie Your Own Bow Tie?
Many people wonder why they should bother learning how to tie a bow tie when clip-ons are so easy. Well, there's a certain charm, a certain authenticity, that comes with a self-tied bow tie. It shows you put in a little extra effort, and that always looks good, you know? A self-tied bow tie has a natural, slightly imperfect quality that ready-made ones just don't have. It gives your look a bit of personality, which is actually quite nice.
At men's suit shop, pursuit, we teach guys how to tie bow ties every day and have perfected the technique over thousands of lessons. We've seen firsthand how a well-tied bow tie can really boost someone's confidence. It's not just about the knot; it's about the feeling you get when you wear something you’ve put together yourself. That, is a very rewarding feeling.
Plus, knowing how to tie a bow tie means you are ready for any occasion. Whether you’re wearing a bow tie for a wedding, a fancy dinner, or just because you like the style, you will be prepared. It’s a useful skill to have, and it opens up more style choices for you, too.
- Unveiling The Secrets Of Sports News Hockey Discoveries And Insights Await
- November Rain Batman Fanfiction Ao3
- Wi Wi Wi Cat
- Unveiling The Enigma Uncover The Secrets Behind Honey Where Are My Handcuffs
- Unveiling The Secrets Rick Steves Marital Journey And Beyond
Getting Ready for Your Bow Tie
Before you even start the actual tying, a little preparation helps a lot. This makes the whole process smoother and less frustrating. It's like getting your tools ready before a project, which, makes sense, right?
Picking the Right Bow Tie
First, make sure you have a self-tie bow tie. These are the ones that come as a straight strip of fabric. They might seem a bit plain at first, but they are the ones you learn to tie. They come in different fabrics and patterns, so you can pick one that fits your style. A good quality bow tie, actually, will hold its shape better, which is helpful when you are learning.
You might want to start with a bow tie that is not too slippery. A silk one, for example, can be a little tricky for a first-timer. Maybe try a cotton or wool one first, as they tend to be a bit easier to handle. This can really make a difference in your learning experience, you know?
Setting Up Your Space
Find a mirror where you can see yourself clearly. Good lighting is also very helpful. Make sure you have enough room to move your arms freely. Some people find it easier to practice while sitting down, others prefer standing. Just find what feels comfortable for you, that is, what really matters.
Also, make sure your shirt collar is up and ready. The bow tie will sit right around it, so having it prepared helps with the fit. You want to make sure your collar is not too tight or too loose, which, can affect how the final knot looks. It's all about getting a good base.
The Seven Easy Steps to a Perfect Bow Tie
Here, menswear experts break down the process of how to tie a bow tie into seven easy steps. If you follow our handy guide below, you will be a tie knot tying master in no time flat. Follow their advice (and handy photos), and you'll be a pro yourself in no time. Perfect your look with beau ties’ simple guide for beginners and pros alike.
Step 1: Getting Started
Start by aligning the bow tie around your neck so that one end is a couple of inches longer than the other. This longer end will do most of the work, so giving it a head start is a good idea. It's usually the right side that is longer if you are right-handed, but you can adjust it to what feels natural. This initial setup, you know, is pretty important for the whole process.
Make sure the bow tie is sitting comfortably around your collar. It should not be too tight or too loose at this point. Just a nice, relaxed fit is what you are looking for. This helps keep things stable as you begin to tie the knot, which, is really helpful.
Step 2: The First Cross
Cross the long end over the shorter end. Think of it like starting to tie your shoelaces. The long end goes over and then underneath the shorter one, coming up through the loop you just made. Pull it snug, but not too tight. You want it to be firm enough to hold, but still loose enough to adjust. This forms the very base of your knot, so, it's a key part.
This first cross creates the foundation for the rest of the bow tie. It's basically the anchor for everything else you will do. Take your time with this step; it sets the stage for a good-looking knot, and that, is what we want.
Step 3: Making the First Loop
Take the shorter end and fold it horizontally across your collar. This forms one side of the bow shape. This part will be the first "wing" of your bow tie. Make sure it lies flat and is roughly the size you want your finished bow to be. This, is the actual start of the bow shape.
Hold this loop in place with one hand. It needs to stay put while you work with the other end. Some people find it helpful to use their thumb to keep it secure against their neck. This small action, you know, makes a big difference in keeping things tidy.
Step 4: The Second Loop
Now, bring the longer end straight down over the middle of the first loop you just made. It should hang down like a curtain over the center of your bow shape. This is where the magic really starts to happen, in a way. This piece will become the second part of your bow.
Then, fold this longer end back up and through the loop behind the first bow shape. This creates the second wing of your bow. It might feel a bit awkward at first, but you are basically threading it through a small opening. This, can take a little practice.
Step 5: Pulling It Through
You should now have two loops, one on each side. Carefully pull the second loop through the knot. It's a bit like pushing a string through a small hole. Go slowly and gently. Don't yank it, as that can mess up the shape you've already started. This step, honestly, is where many people get stuck.
Once you have both loops, you will see the basic bow tie shape forming. It might look a bit messy at this point, but that's totally normal. The next step is all about making it look neat and tidy, which, is pretty satisfying.
Step 6: Shaping Your Bow
Now, gently pull on the ends of the bow tie and the loops to tighten and adjust the knot. You want both sides of the bow to be roughly equal in size. This is where you really start to perfect the look. Pull one side a little, then the other, until it looks balanced. This part, you know, is all about feel.
You might need to tug on different parts to get it just right. The goal is a symmetrical look, but a self-tied bow tie often has a charming, slightly uneven quality, which is actually part of its appeal. Don't aim for absolute perfection; a little character is good.
Step 7: Final Adjustments
Once the knot feels secure and the bow looks good, make any final small adjustments. Straighten it on your collar, fluff out the loops a little if needed. Check yourself in the mirror from different angles. You want it to sit nicely under your chin and look good from all sides. This, is the final touch that makes it truly yours.
And there you have it! A properly tied bow tie. It might take a few tries, but with practice, you will get faster and better. Remember, it's a skill that builds over time, so, just keep at it.
Troubleshooting Common Bow Tie Issues
Learning how to tie a bow tie can come with a few bumps. Don't worry if your first few attempts don't look perfect. That's totally normal. One common issue is the bow ending up crooked. This often happens if one side was much longer than the other at the start, or if you pulled one side too tight. Try to keep the initial length difference consistent and pull evenly on both sides during the shaping steps. This, really helps with balance.
Another thing people sometimes struggle with is getting the knot to feel secure. If your bow tie feels loose, it might be because you didn't pull the first cross tight enough, or you didn't snug up the loops properly in Step 5. Go back and make sure each pull is firm, but not so tight it distorts the fabric. Practice, you know, really makes the difference here.
Sometimes the loops can look floppy or uneven. This often comes down to the fabric itself or how much you're pulling. Some fabrics are just naturally softer. For floppiness, try to make sure your loops are folded neatly and that you're pulling the knot tight enough to hold them. For unevenness, just keep adjusting the ends and loops until they look balanced. It's a bit of an art, honestly.
Visual Learners, This Is for You
More of a visual learner? We get it. Sometimes seeing someone do it makes all the difference. Many people find that watching a video helps them understand the movements better than just reading words. It’s like watching a cooking show versus reading a recipe, which, can be very different.
Try tying a bow tie with our helpful video tutorial. You can pause, rewind, and watch each step as many times as you need. This lets you go at your own pace and really grasp the technique. Some online resources, like those from menswear experts, give a full walkthrough and video in their guides, which is very useful. It’s a great way to complement these written steps, too.
For a good visual aid, you might want to check out a trusted style resource online. They often have clear, step-by-step videos that show exactly how each part of the knot comes together. For instance, you could learn more about bow tie styles on our site, or even link to this page for a direct video guide. Seeing it in action, honestly, can be a game-changer.
Frequently Asked Questions About Bow Ties
Is it really hard to tie a bow tie for the first time?
For your very first try, it can feel a bit tricky, but it’s not truly hard. It’s more about getting the hang of the movements. Think of it like learning to ride a bike; you might wobble at first, but you get better quickly. Many people find it takes a few tries to get it right, which, is totally normal.
What's the easiest way to make sure my bow tie is straight?
To keep your bow tie straight, make sure your initial setup is even. When you cross the long end over the short end, try to keep the fabric flat. As you tighten the knot, pull on both sides equally. Also, check it in the mirror often as you go. A little adjustment here and there, you know, makes a big difference.
How long does it usually take to learn how to tie a bow tie well?
Most people can get a decent bow tie tied within 15-30 minutes of practice. To tie it really well and quickly, it might take a few days or weeks of occasional practice. It’s a bit like learning any new skill; consistency helps. The more you do it, the faster and more natural it feels, which, is pretty cool.
Your Bow Tie Journey Begins Now
So, you have the steps, and you know what to look for. Learning how to tie a bow tie is a skill that serves you well, whether you’re aiming for a formal event or just adding a bit of polish to your everyday wear. It’s a traditional knot, a classic look, and something you can be proud to do yourself. If you follow our handy guide below, you will be a tie knot tying master in no time flat. It’s a very satisfying feeling to get it right, you know?
Remember, practice makes perfect. Don't get discouraged if your first few attempts aren't exactly what you hoped for. Every expert started somewhere. Just keep trying, and soon you'll be tying your bow tie with ease. You'll soon master this traditional knot and enjoy the classic look. Feel free to practice a little, and you will get there. This skill, honestly, is worth the effort.
For more style tips and guides, you can always check out resources like Gentleman's Gazette, a great place for menswear advice. They often have additional insights that can help refine your technique. It’s all about building your knowledge and your confidence, too.
- Discover Marc Evan Jacksons Net Worth Unlocking Wealth And Success
- Unveiling The Origin Of Jamal Musiala Embracing Diversity And Inspiring Dreams
- Unlocking The Secrets Is Scottie Scheffler Married
- Unveiling Joran Van Der Sloots Height Exploring Insights And Surprising Revelations
- Tun Tun Tun Sahur

Tie The Bow Men'S - Free photo on Pixabay - Pixabay

Tie Bow Fashion - Free photo on Pixabay - Pixabay
HOW TO TIE A BOW TIE
